I am a brand ambassador with The Container Store and this blog was written in partnership with them.
You might not think you need to organize your fridge, but if you’ve ever found old, expired food in the back, don’t have much space, or have simply had to run out to the store for food you didn’t think you had, a little organization can help. Keep in mind certain things might vary slightly depending on your living situation and what you buy, but in general, there’s lots of you can do to organize your own fridge.
Before you start actually organizing, you’ll need to lay some groundwork. I know, hang in there, I promise, it isn’t a horrible task! These next steps take the most time of the project, but are super important, so just knock ’em out. Take note: You should go through this process every couple months.
HOW TO CLEAN OUT YOUR FRIDGE
Step 1: TAKE EVERYTHING OUT
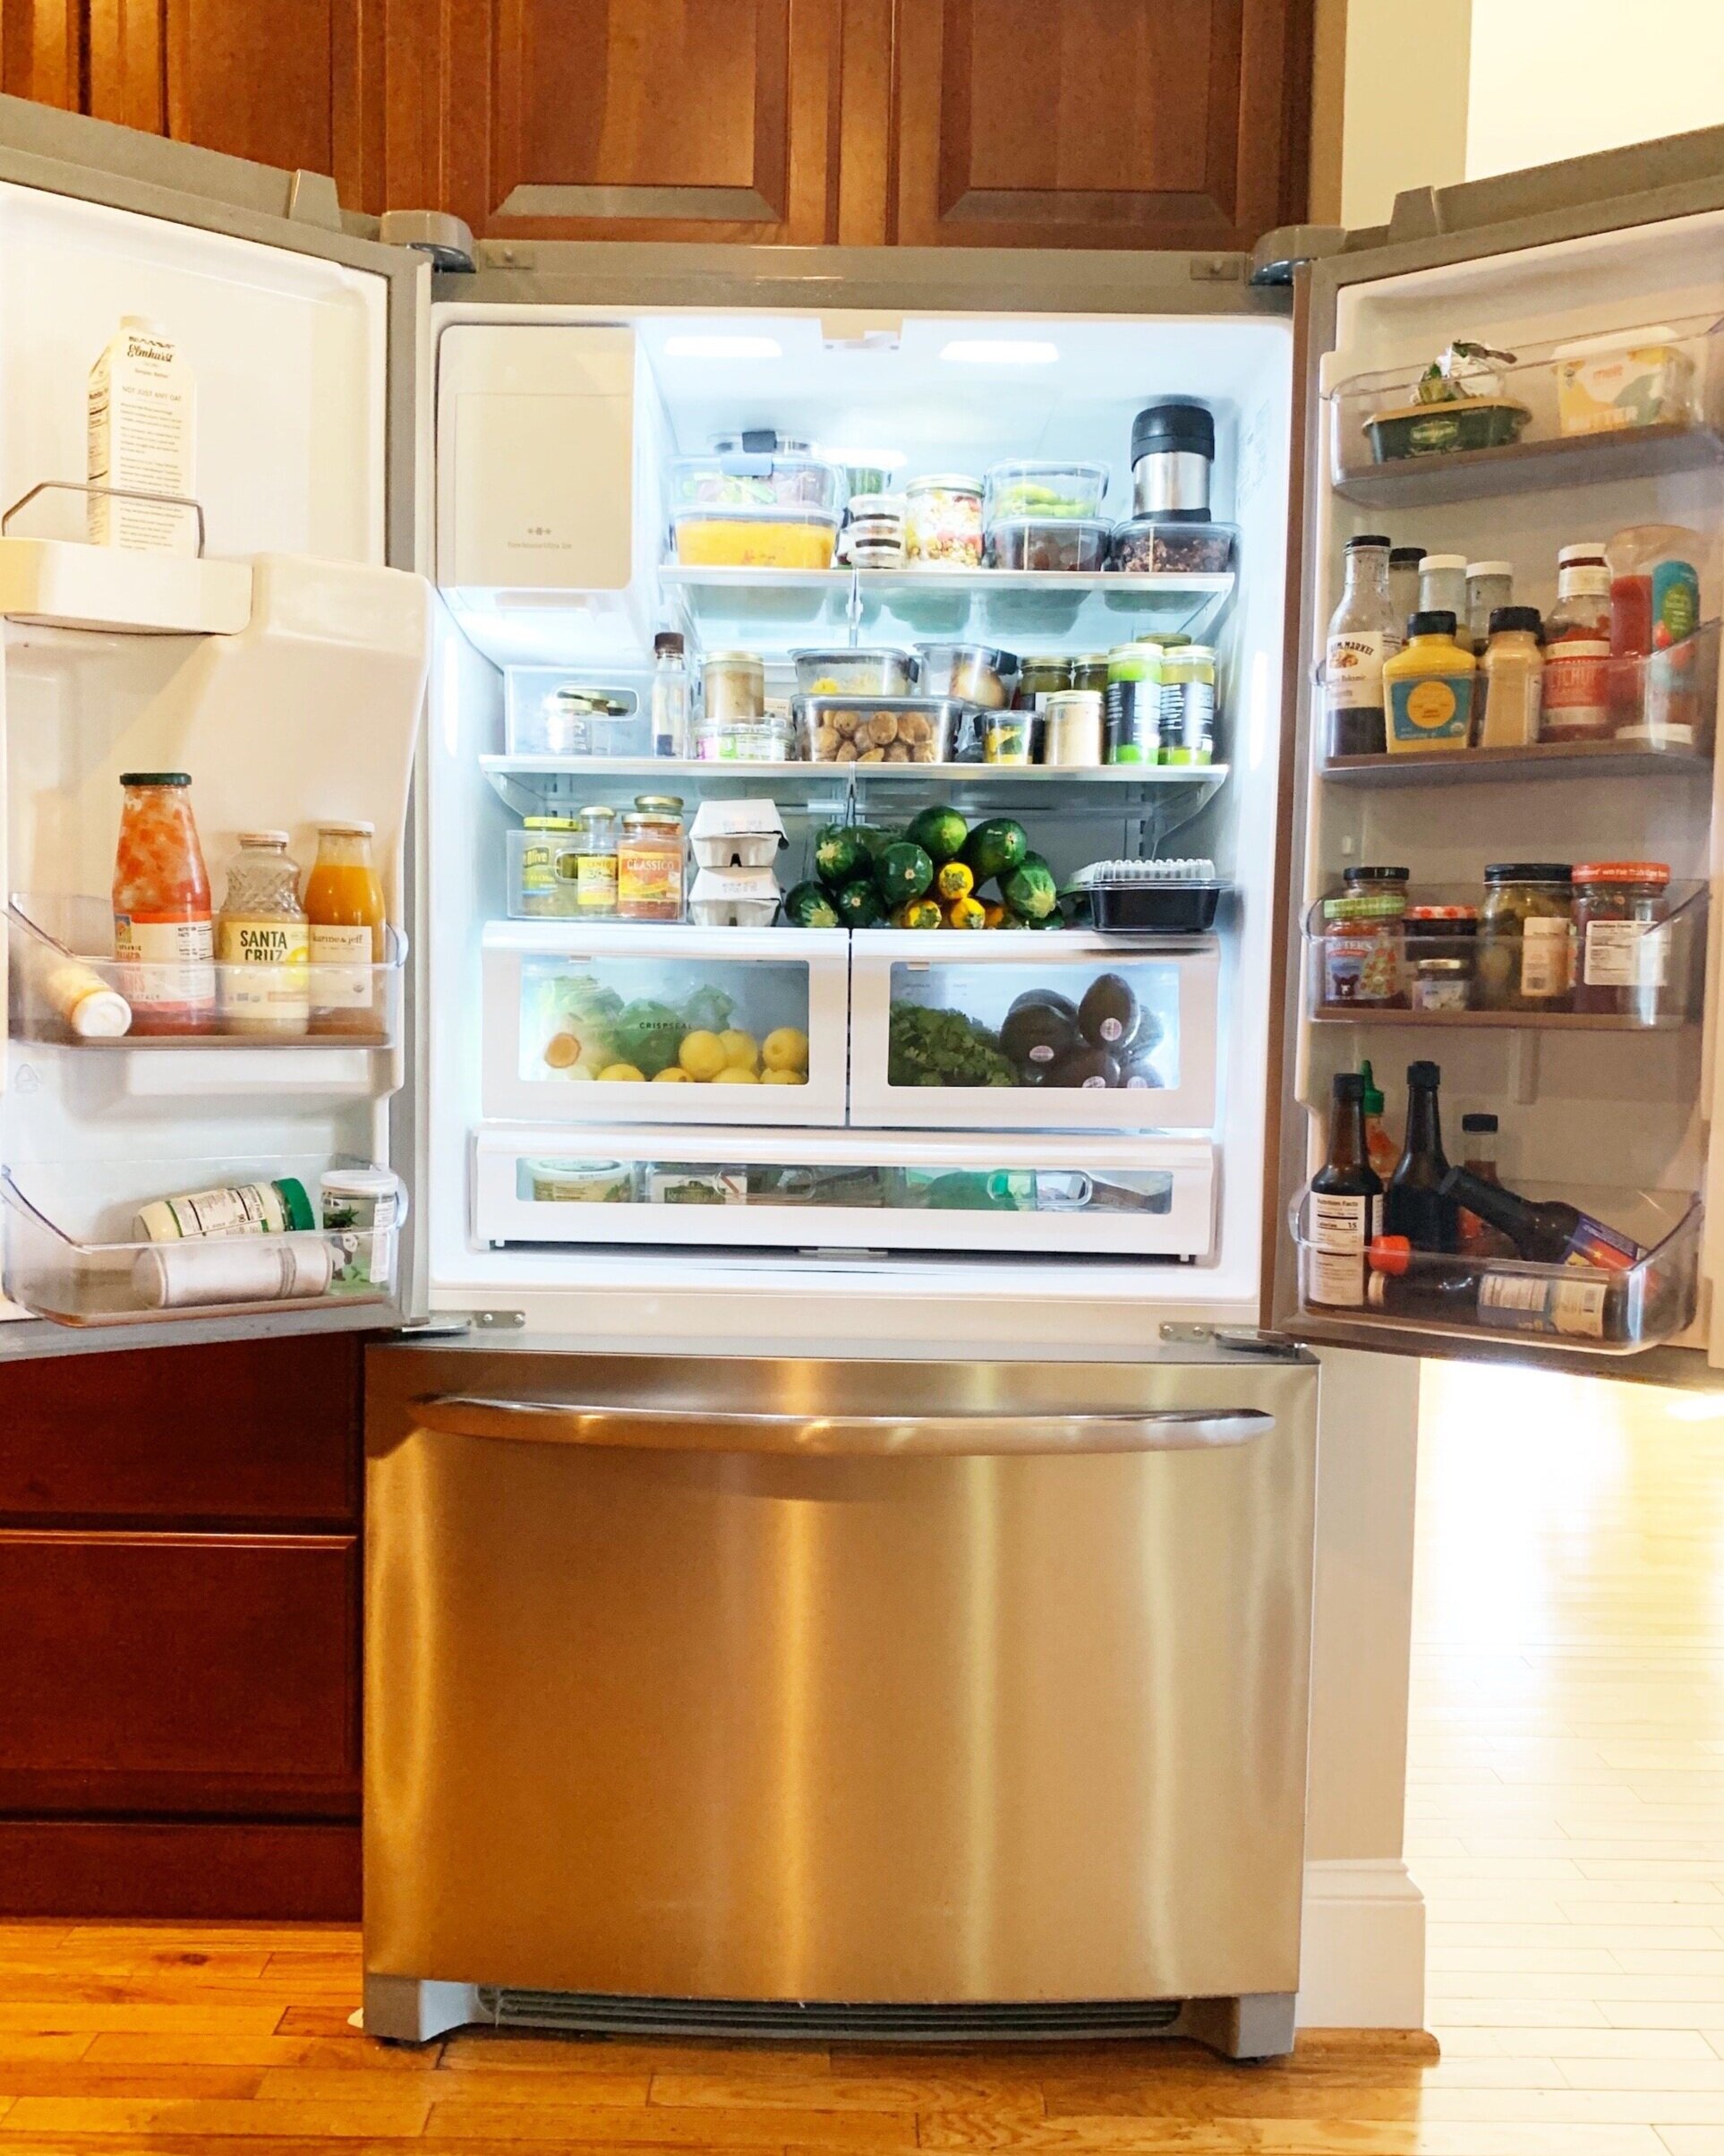
Taking everything out and setting things on your counter tops gives you a blank slate for the next steps. Tip: Place anything messy in the sink.
Step 2: CLEAN
Once everything is out, wipe the fridge down. Really get in there and clean all sections (like door storage, drawers, shelves, handles). Reminder: Try to use a non-toxic cleaner, your food lives here!
Step 3: TOSS AND TAKE INVENTORY
Quickly go through your items, note the dates on every single item. Obviously, throw or compost anything that’s expired, and for things that will expire within the next month, mark with a Sharpie. Note: I use a iDesign Linus Deep Fridge Bin specifically for “expiring soon, eat me!” items. If you’re noticing that you’re throwing away expired, unopened items, rethink purchasing again. An organized fridge WILL save you money!
Step 4: ORGANIZE
While everything is out on the counters, start organizing your inventory. Place like items with each other (fruits, veggies, condiments, leftovers etc.).
Step 5: PREP
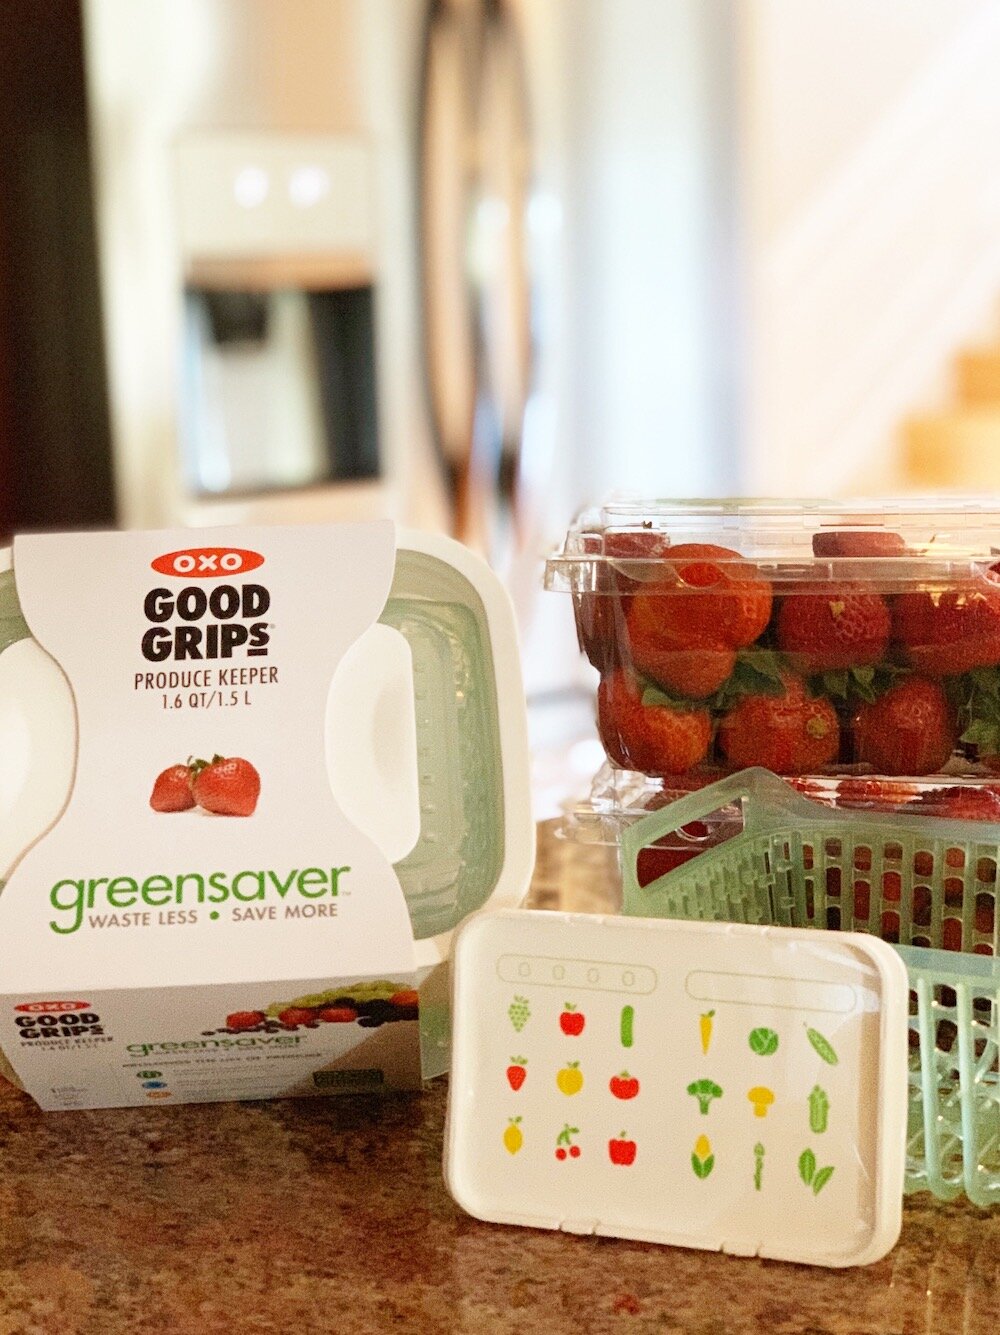
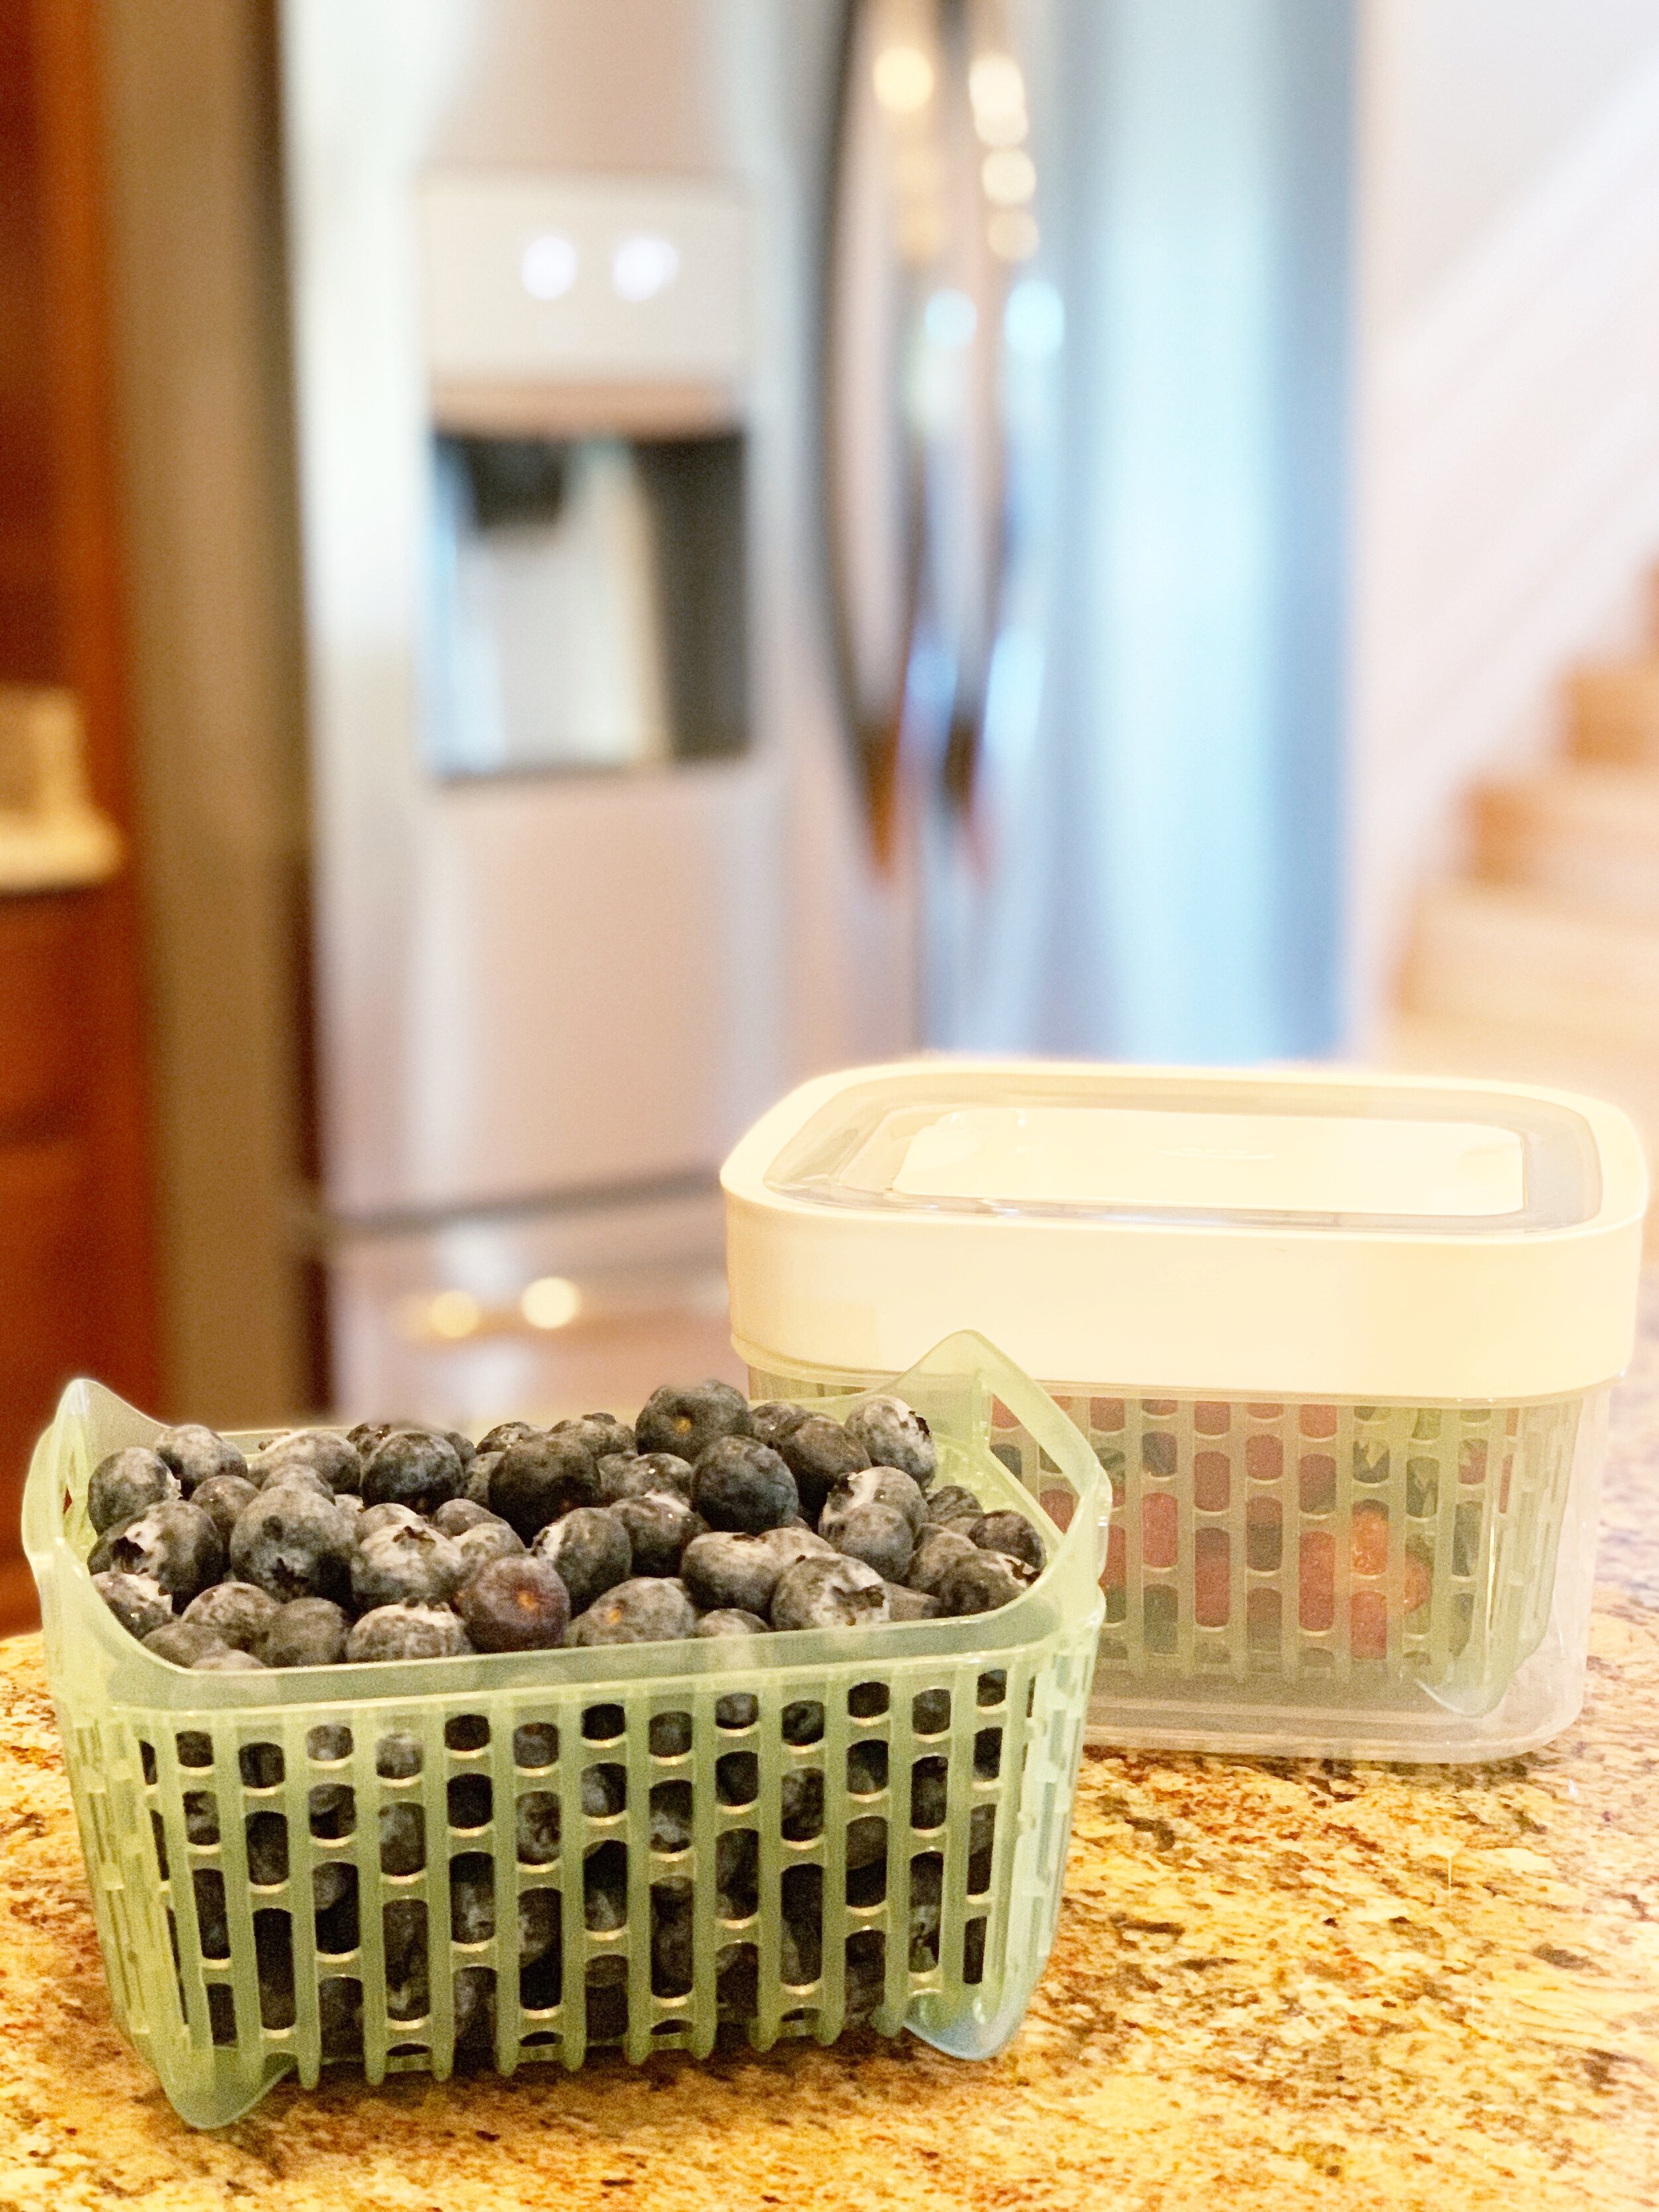
If you have any fruits or veggies or any food that needs to be prepped, do it now. I do this as soon as I get home from the grocery store to eliminate wasted space from other containers. This extra step jump starts meal prep, is great for easy, after school snacks, and cuts down on wasted food. I use these OXO greensaver Produce Keepers for berries. The activated carbon filter, elevated basket and adjustable vent keeps your produce fresh longer. Worth it!
Everything is clean and ready to find a home. Whoop whoop! You’ll probably already be feeling good after decluttering and cleaning, but now, the fun part! Drumroll…
TIPS FOR ORGANIZING YOUR FRIDGE
Step 1: DESIGN LAYOUT
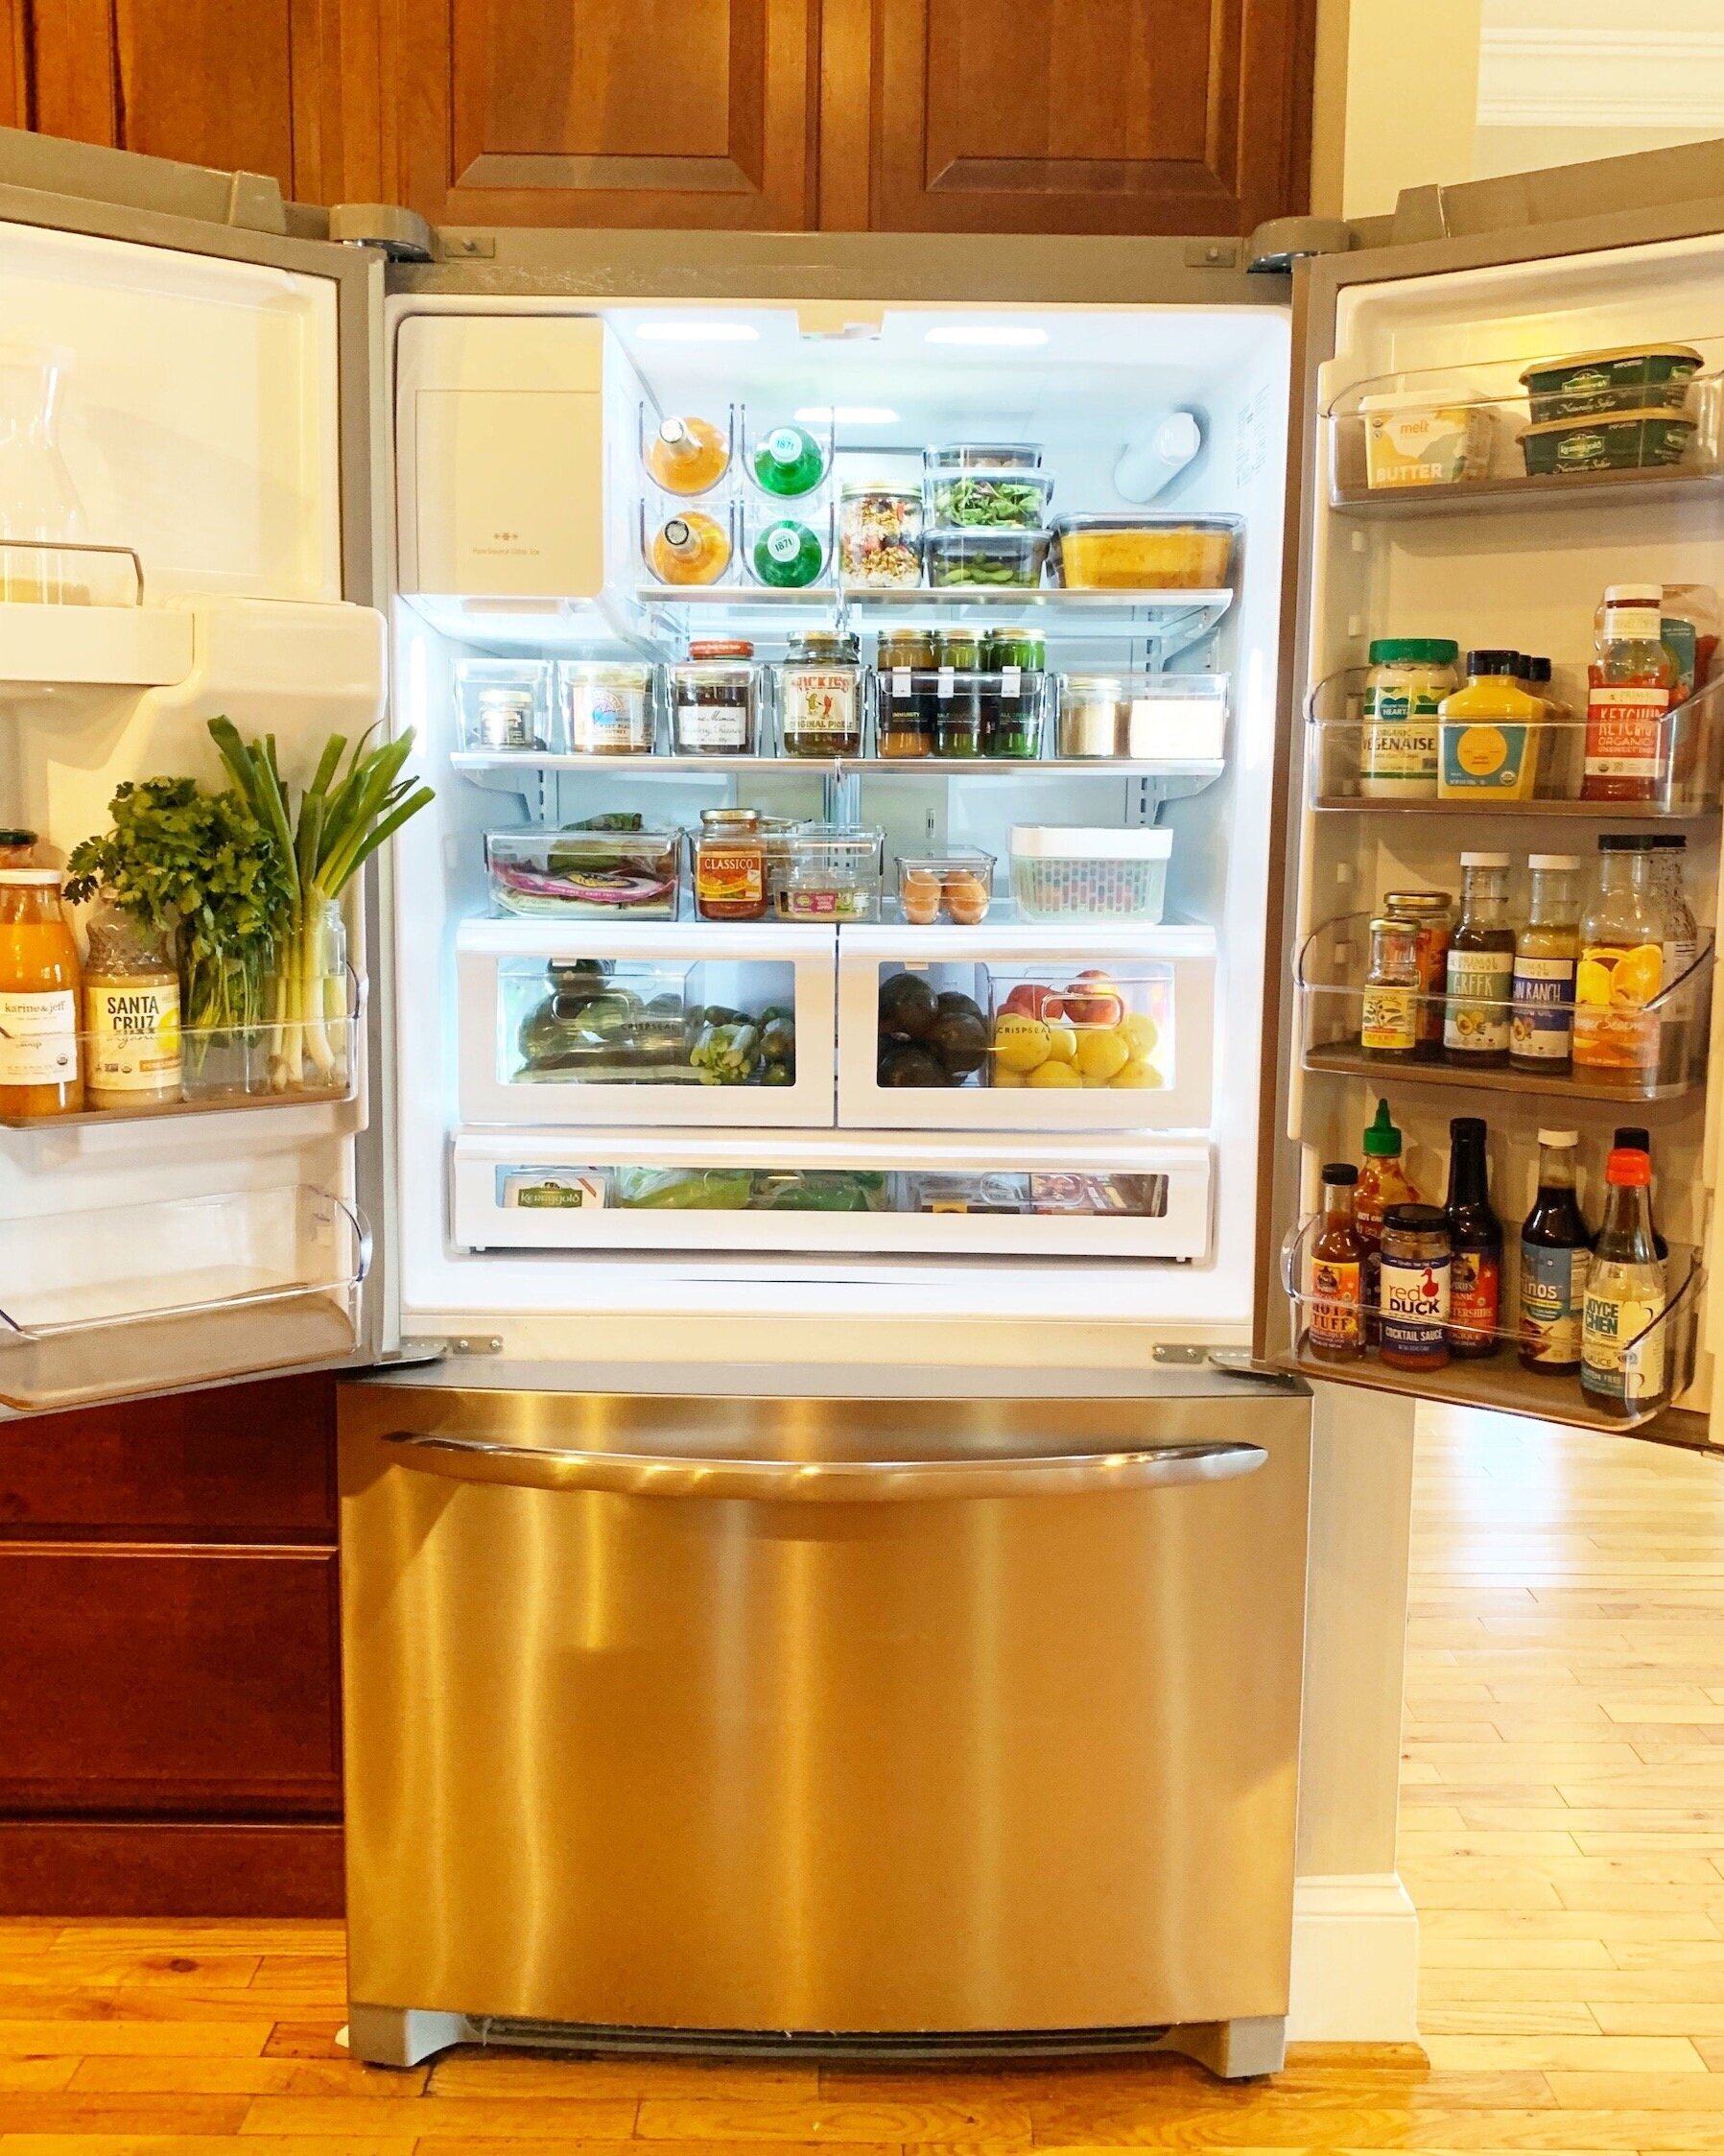
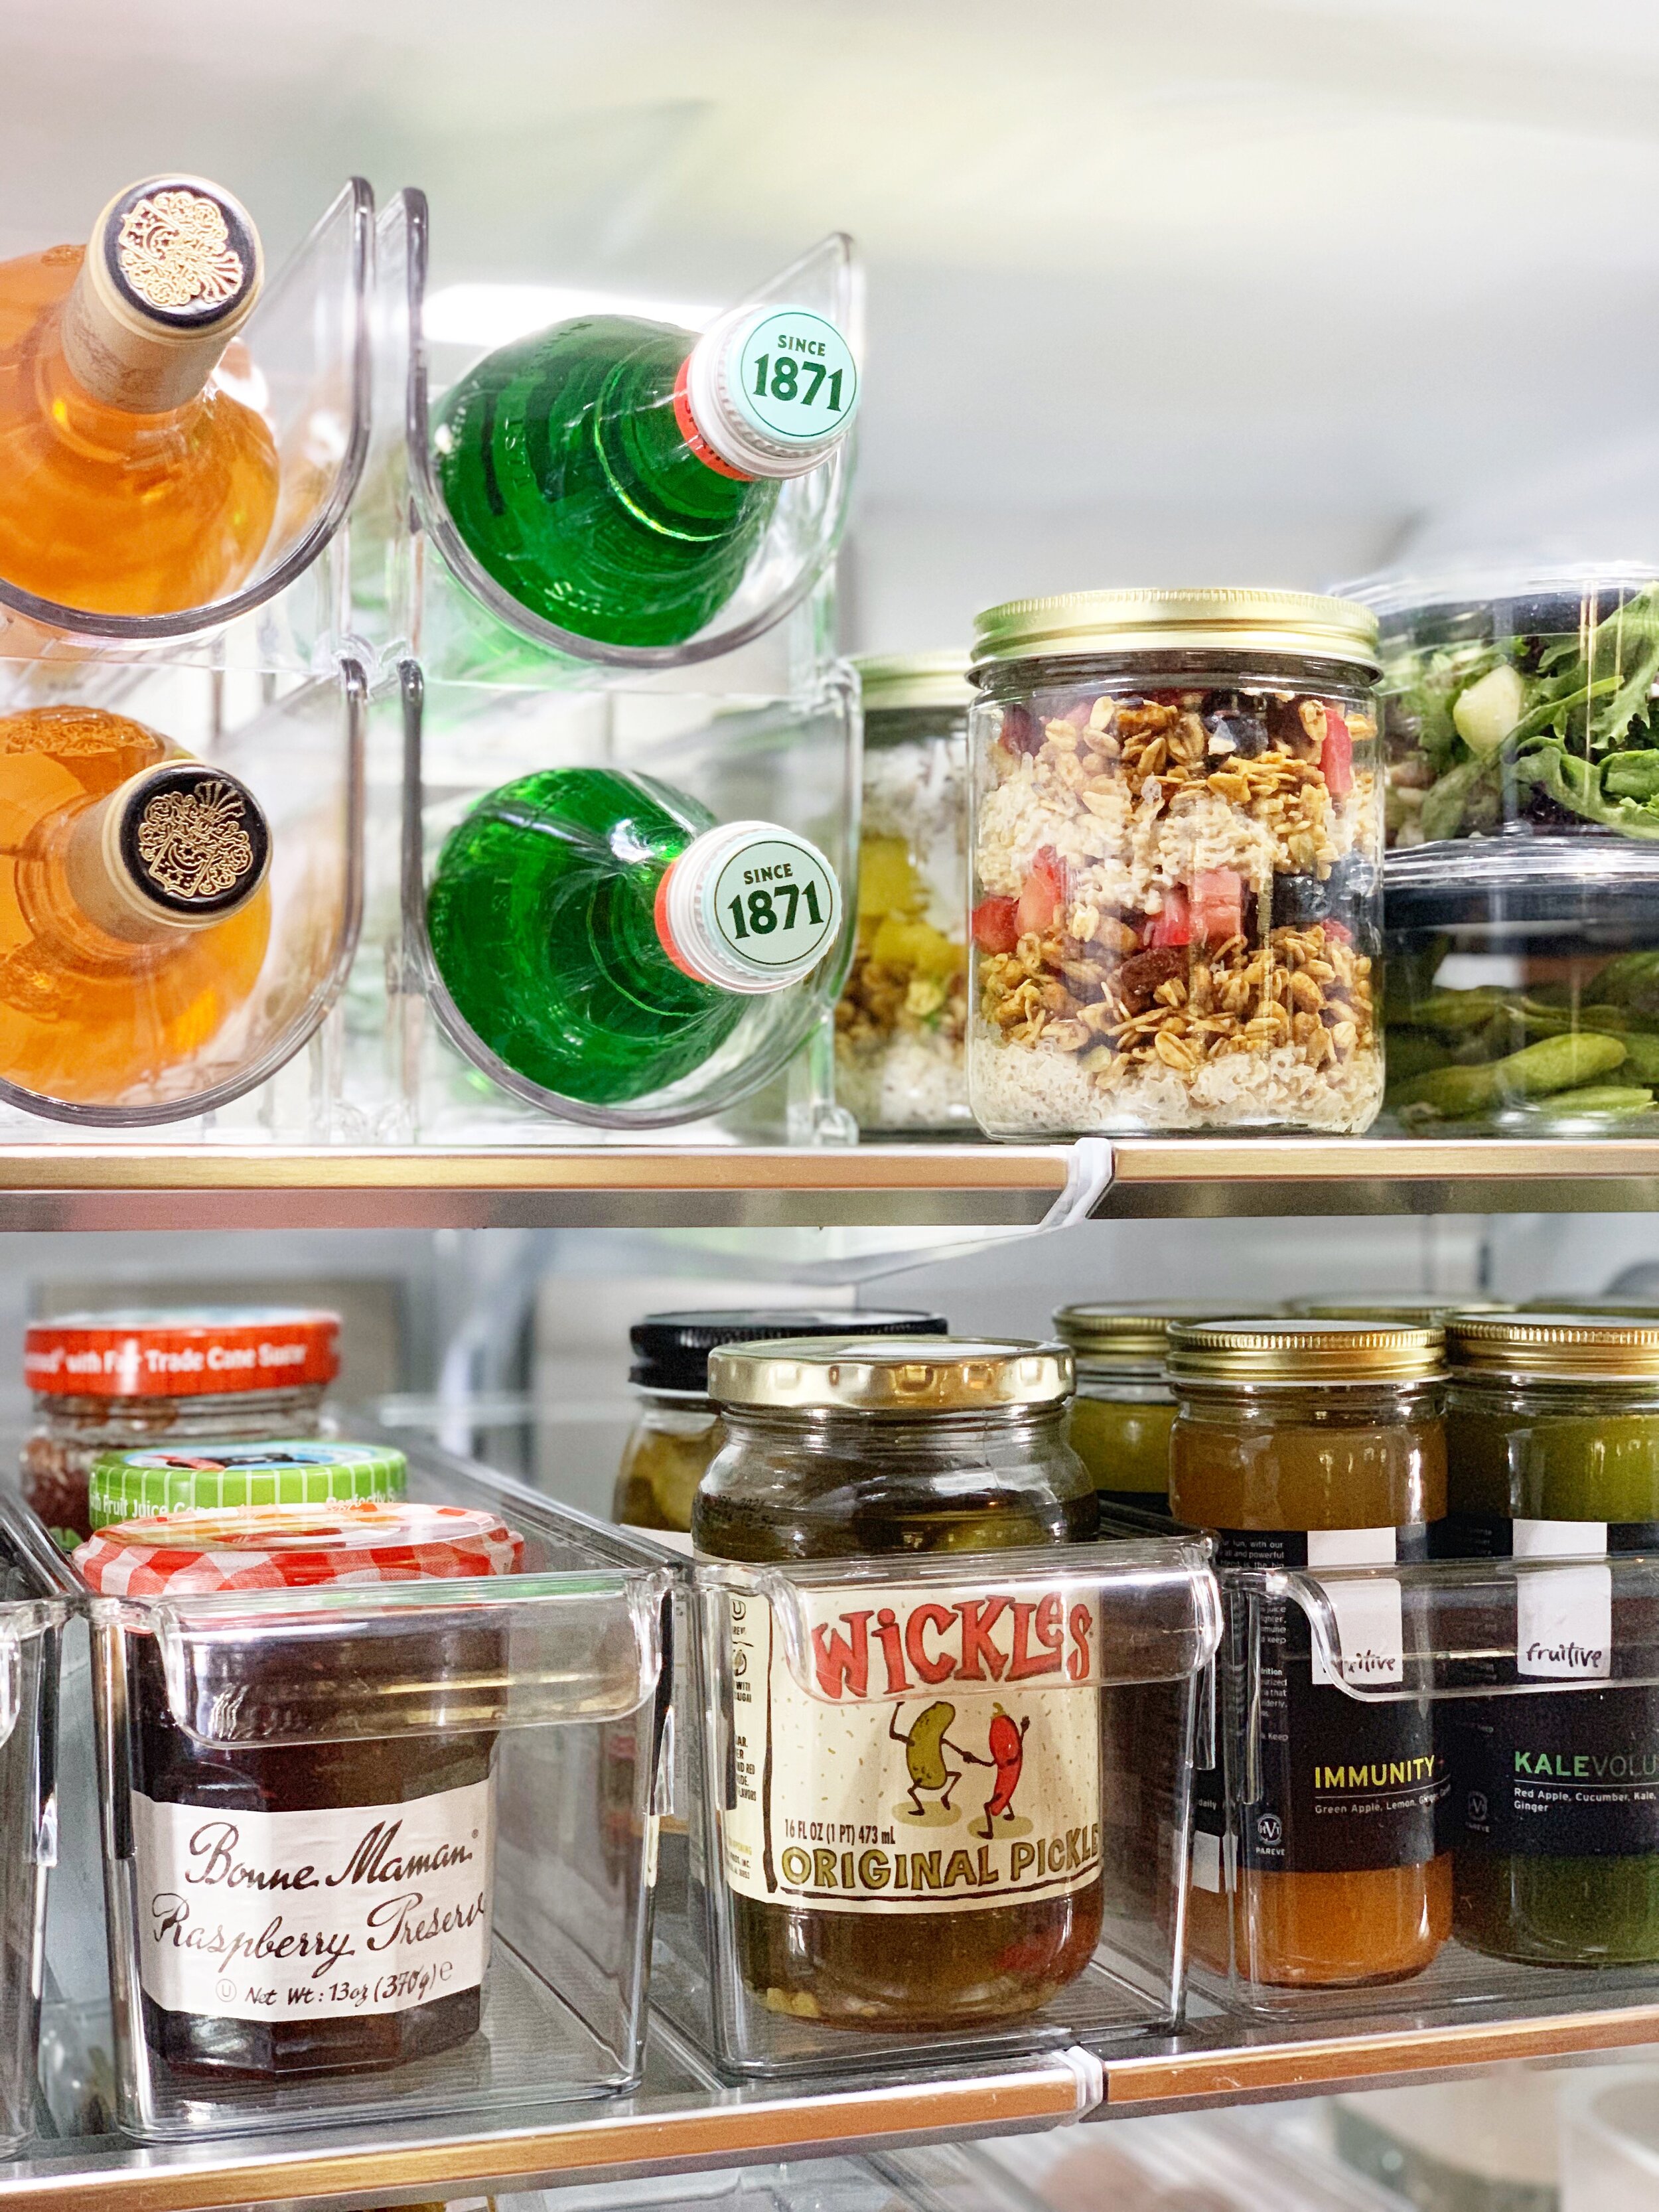
Depending on your height and fridge layout, the design will vary. These allowed me to utilize vertical storage. In addition, consider which foods you grab for most often, then create zones for each category. Tip: I place healthier items front and center. Having healthy choices at first glance makes it easy to snack smart!
Step 2: KNOW HOW TO STORE
The lowest part of your fridge tends to be the coldest (since heat rises), so try to keep things that can spoil easily towards the bottom. Tip: Store eggs on the bottom shelf, they’ll stay fresh longer! I love these egg holders that hold 14 eggs so you have room to rest-stock before running out.
Step 3: USE THE RIGHT CONTAINERS
Measure inside your fridge to see what type of space you’re working with, and ideally buy containers that match up with your fridge’s dimensions. Using a bins to create zones really helps to maximize organization. In this fridge, I used these bins.
Step 4: UTILIZE DRAWERS
Use your drawers as a catch all for similar food groups: Meat/Dairy/Fruit/Veggies. You can use bins to create sections and keep like items together. I used these bins inside the crisper drawer to corral lemons, avocados, cucumbers, and apples.
Step 5: LABEL
This is especially helpful for a shared fridge (looking at you kids, husband, roommates, guests). Label each bin and designated area. My go to labeler for our organizing projects is this one. This will take your freshly organized fridge up a notch and allow everyone using the space to know exactly where things go. In addition, you will be able to see what you are out of, more quickly.
Step 7: LEAVE EMPTY SPACE
Cut the clutter and only use the bins you need to contain loose items or specific categories, it’s not necessary to cover every inch of space. Leave room to breathe! Doing so will keep your fridge from feeling cramped and leave room for expansion, leftovers, thawing, etc. without derailing organization.
So, there you have it. I love sharing practical, everyday solutions with you guys! Wishing you easy meal prep, organized shopping lists, saved grocery money, less food waste and a few less “Mom, I can’t find…”. I hope this helps!
Do you have any tips of your own on keeping your fridge organized?





+ show Comments
- Hide Comments
add a comment