When you look at transformation photos on social media, like Pinterest or Instagram, a lot of times they seem larger than life. Brand new cabinets, custom shelving units, and beautiful (and expensive) bins and baskets. The problem is, many of the transformations that you see aren’t possible (for a lot of us!) due to time, money, lack of DIY skills or just desire. So, I wanted to share with you a realistic, simple, and completely do-it-yourselfable transformation of a storage room. The goal of this client’s project was to make this storage room more user-friendly, organized and complete the project on a budget.
The Process
Step 1: Meet the Client. Before I can begin any client project, I meet with the client to discuss what their are struggling with most in the space, their goals for the organization, if they have an aesthetic preference, and their budget. I also like to see the space as I find laying eyes on it (whether in person or virtually) really is essential to the process.
For this specific storage room project, my client needed more space to store tools, hardware, and miscellaneous items you typically find in a storage room and their product budget was $500. The focus for this project was to create a budget-friendly, functional, organized storage room with less of an emphasis on how it actually looked.
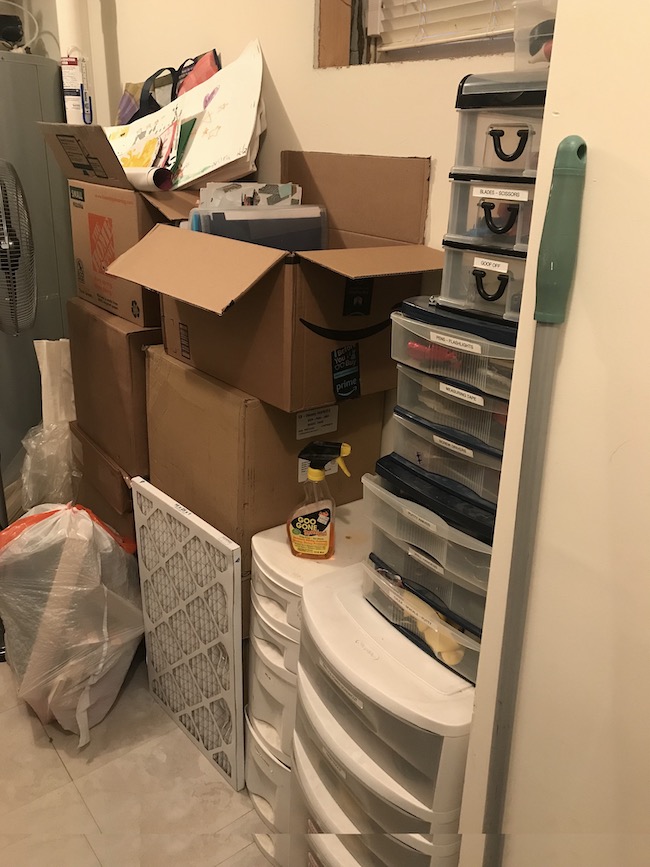
Step 2: Design the Space. After meeting with my client, I took measurements of the storage room. I measured the length, width, and height with respect to all obstructions like the boiler, pipes, and window. As you can see from the picture below the space was not large (74″L x 15.5″W x 60″H) so I needed to pick a storage solution that would not only fit within the measurements but also allow for the categorization, organization and storage of multiple small items.
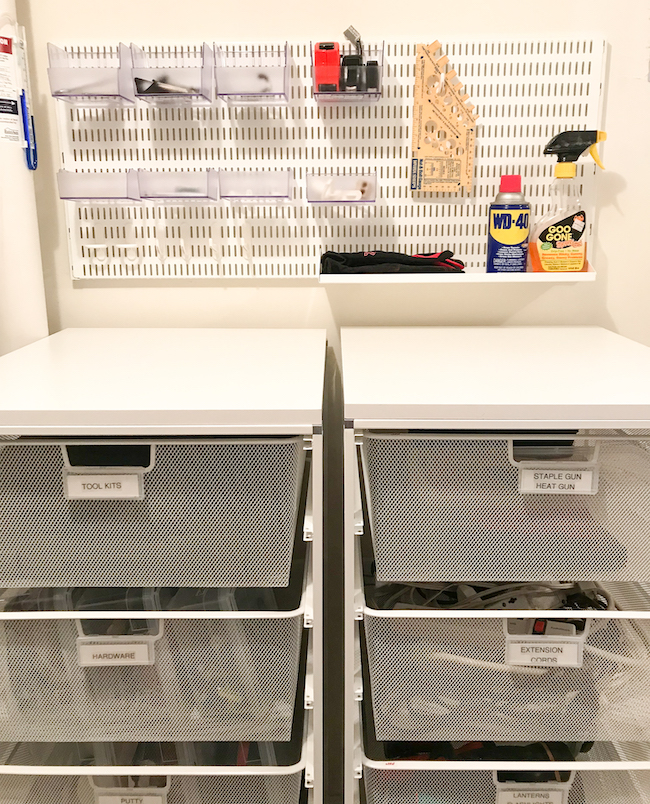
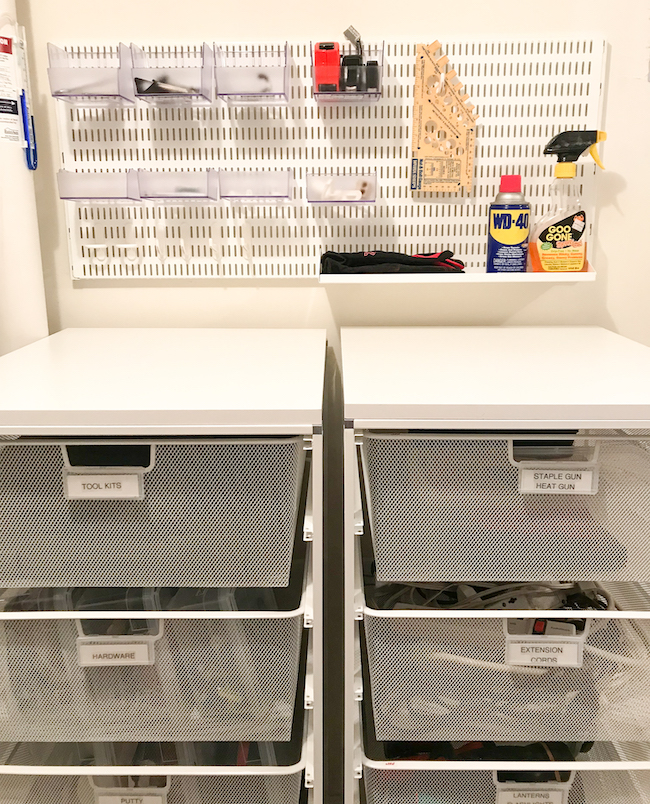
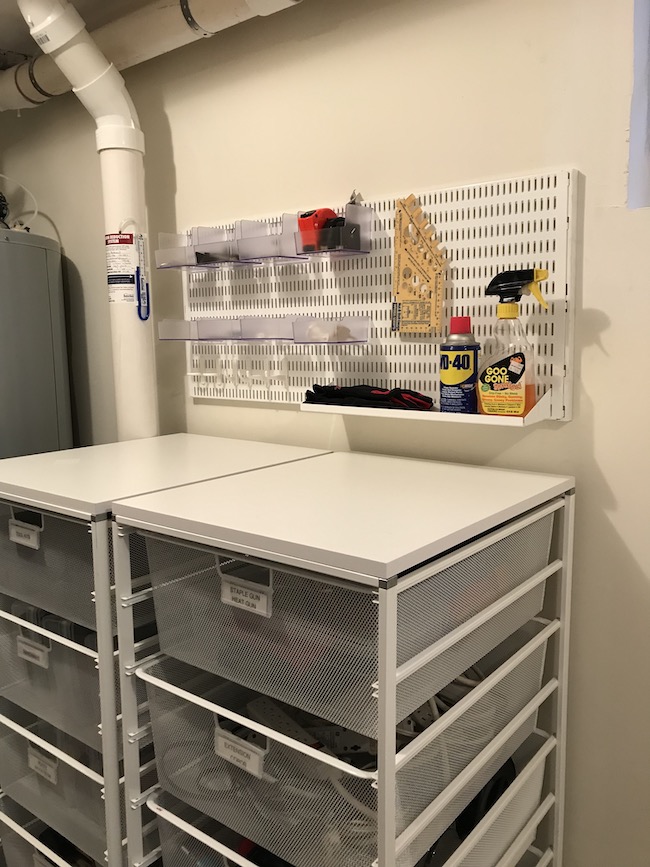
Step 3: Implement the Design. After I took measurements, I created a design to get the storage room organized and researched organizing products, all based on my measurements and discussions with my client. I already had in mind a couple of products that I thought would work but I always double check the measurements to be sure. For this storage room project, I decided to use two white Elfa mesh dressers, install an Elfa utility board above them, and then use the Elfa utility boxes and hooks to add even more storage and organization. The great thing about Elfa is that not only is it affordable but it also has a great sleek look, win-win!
Step 4: Categorize and Organize. During our client appointment when we are on site is where the true storage room transformation happened! Once the Elfa units were installed my team got to work categorizing and organizing all items. They added labels to each drawer and used a few clear storage boxes to help keep small items together and better organized. I have listed out all the organizational products that were used in this storage room transformation below.
Although, this may seem like a simple transformation in photos, all the products and systems that were put in place completely changed the way the space functioned and my client was very happy with all the organization as a result.




+ show Comments
- Hide Comments
add a comment