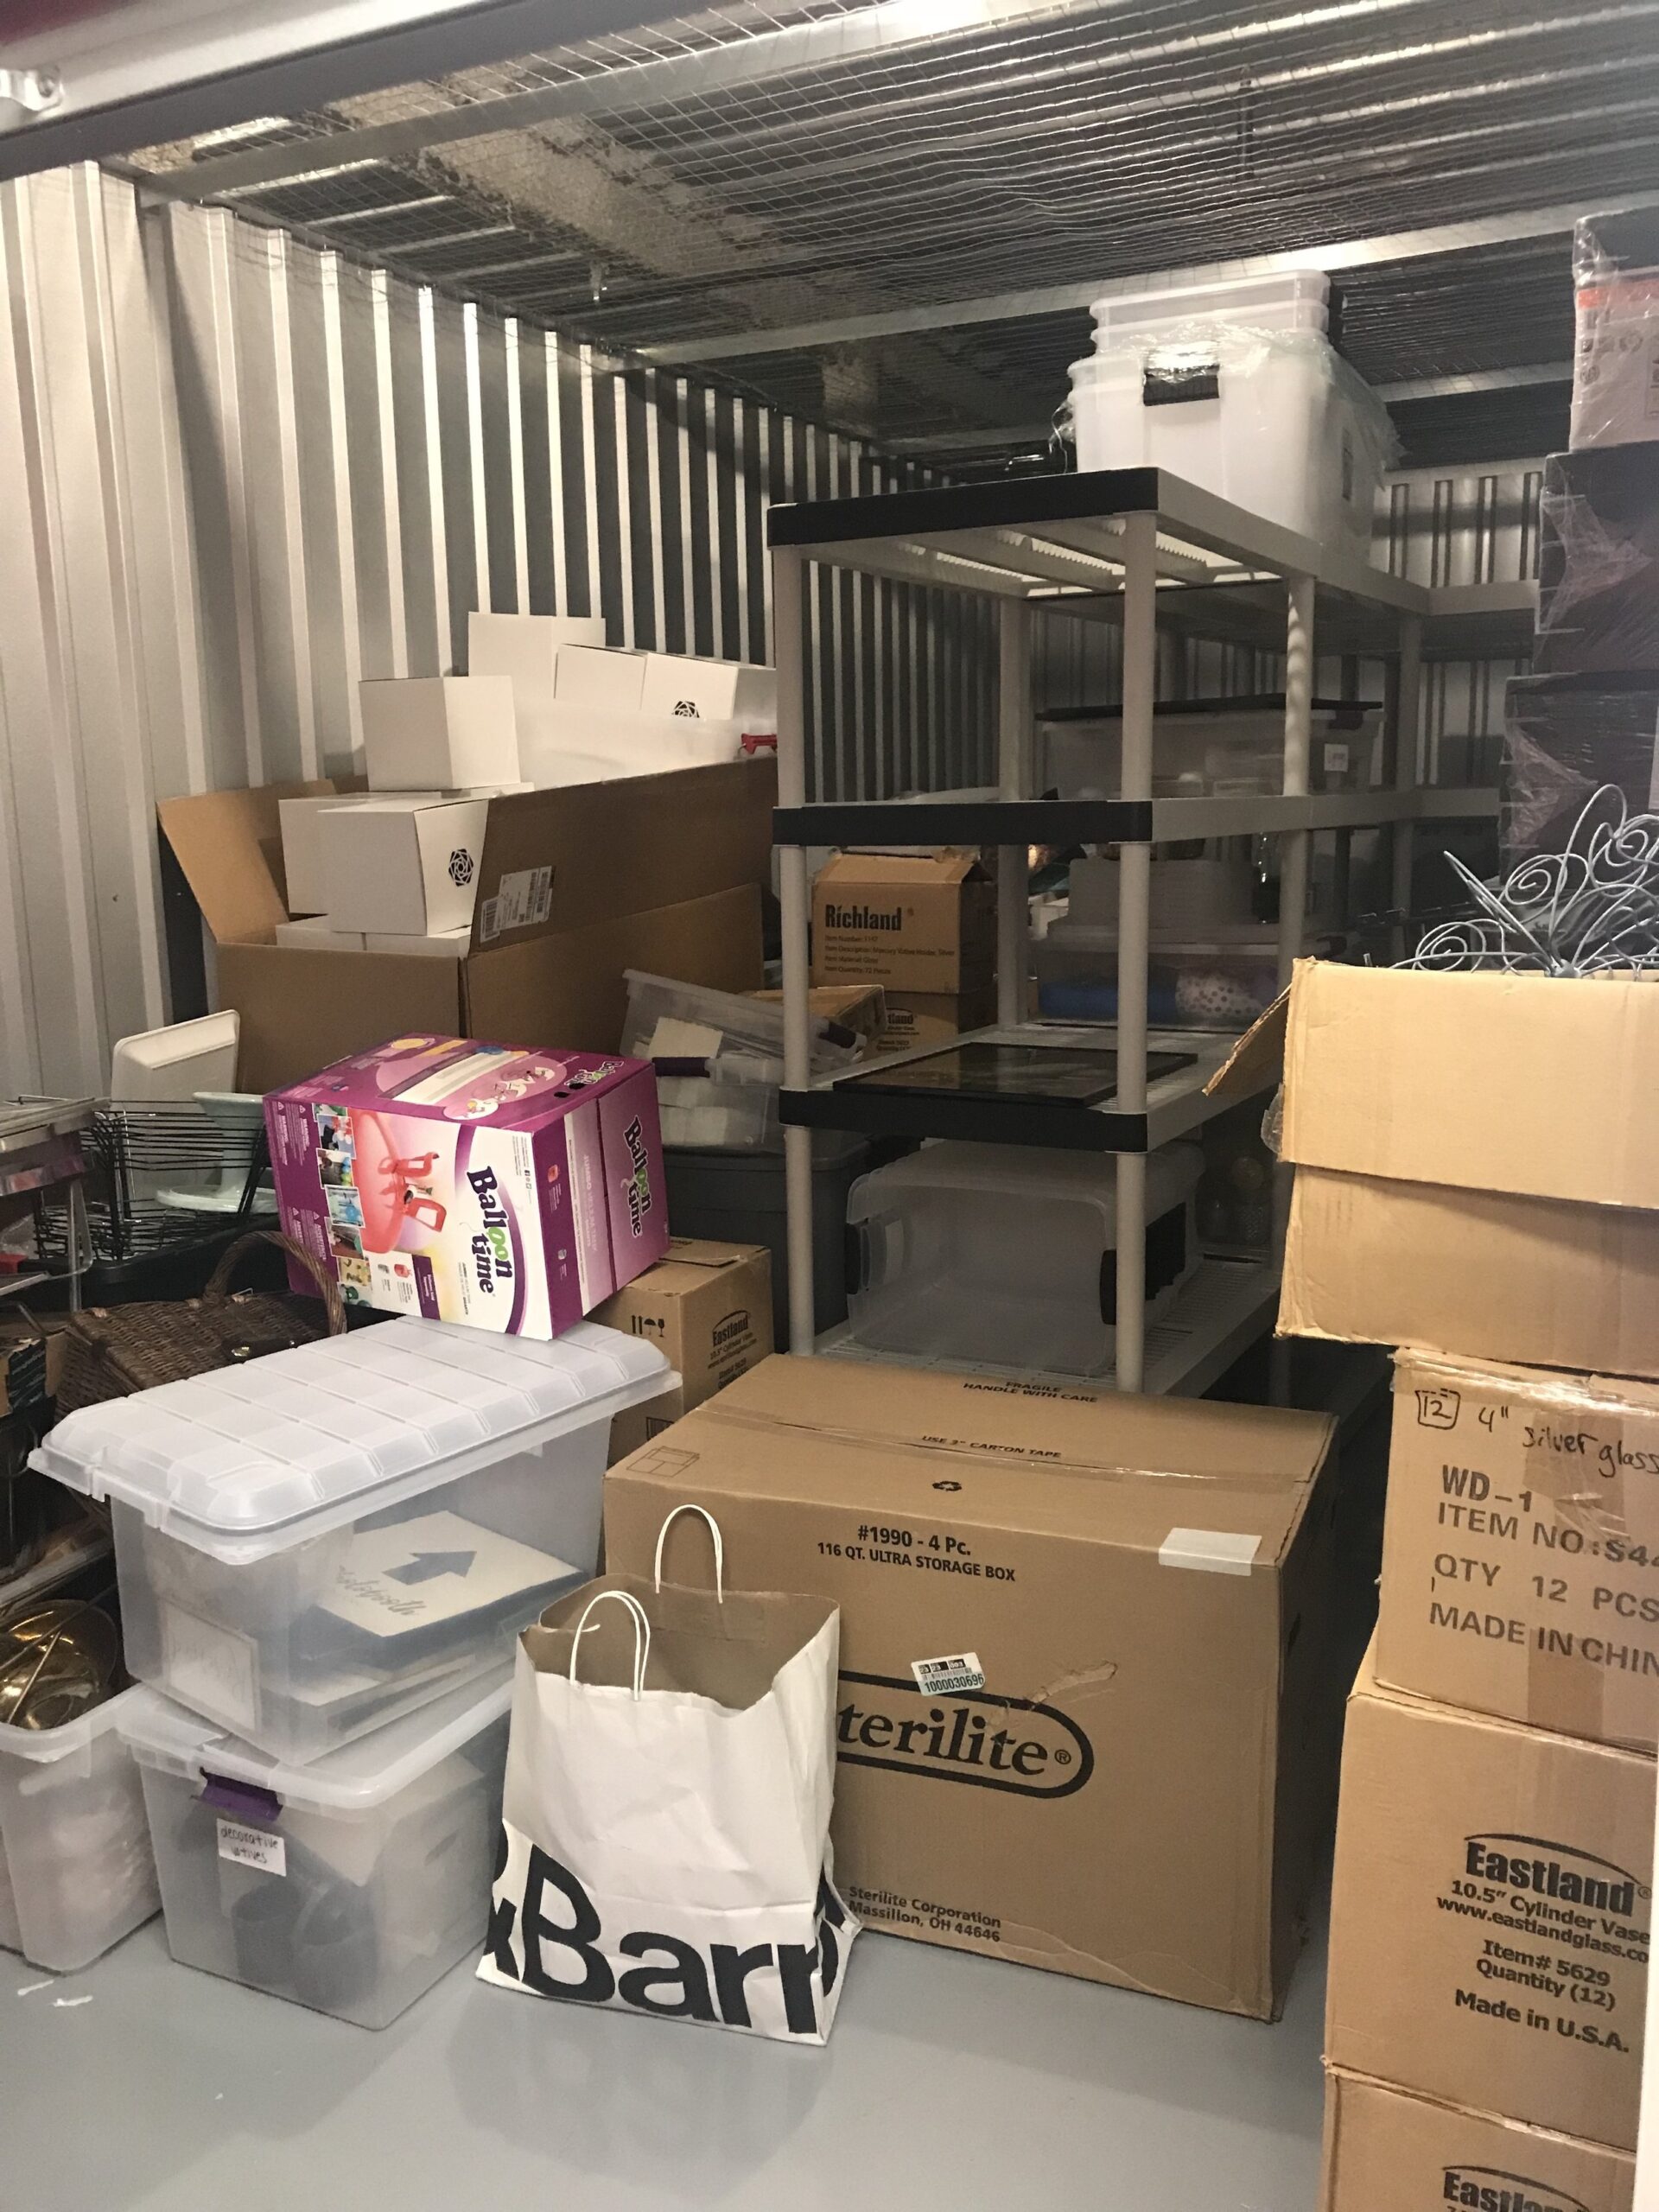
True story: at a recent client appointment it was physically impossible to walk into the storage room. We opened the door to the storage room, and there was a wall of items blocking our path. Sure, sometimes this is an indicator that the room is quite literally filled to the brim and at capacity, but in this case the items were stacked and placed closest to the door so that they were easier for the client to access. Once we pulled out all of the items from the room we were able to actually see the storage room for what it was: an empty room for us to add storage systems.
Imagine walking into your bedroom closet and not having a spot to hang your clothing, or not having shelves or drawers to tuck away your folded clothes, shoes, and accessories? Without the structure and storage systems in place, getting your closet organized would be nearly impossible. The same rules apply in storage rooms!
The great thing about storage rooms also happens to be their weakness: they are oftentimes a blank canvas. They are an empty room or closet that lacks structure, which oftentimes results in becoming a drop zone and landing spot for bins and stuff to pile up over time.
So, if you’re like our client and are ready to add structure to your storage room (or closet, or blank wall!), here are my steps for making it a simple project that will save you so much time and frustration moving forward. You’ll know exactly what you have and–best of all–be able to access everything easily.
4 STEPS TO GET YOUR STORAGE ROOM ORGANIZED
-
Get support. The emotional attachment and burnout that comes with organizing and decluttering (it’s not always an easy thing to do!) becomes a lot less overwhelming and more manageable when a family member, friend, or professional organizer is by your side keeping you focused and helping you to make decisions.
-
Prep the space. Clear out everything (yes, everything!) so that you are back to the blank canvas that once was. Trust me, it will look so much worse before it gets better. But, once you have your storage systems in place you will only have to worry about maintenance, so consider this step your “one and done” investment. Once the space is cleared out, give it a good cleaning, and get the space ready for everything to be loaded back in. When I tackled my own storage room I even painted the ceiling and walls just so that the space felt a little more inviting and an extension of my home.
-
Categorize and declutter. Similar to getting organized in other areas of your home, you want to sort like items together. This exercise will help you see exactly what you own, how much of it, and what to account for when you are deciding where it should go in the garage. Get your childhood memorabilia together, group your holiday decor, pull out the luggage and travel gear, dig out utility items, etc.. Categorizing allows for you to see how much of each type of product that you own, and chances are you’ll be surprised how much you’ve accumulated (and maybe find something you’ve been missing!). Now, when it comes to decluttering, you’ll want to start by going through the easy categories. Old toys or equipment that are broken should be tossed, and sports gear or luggage that you no longer use can be donated. Keepsake items and gifts can be especially difficult for people to get rid of, but remember that if it is not of use to you then it may have a better purpose in someone else’s home rather than collecting dust in your storage room.
-
Measure and contain. Measure the available length, width, and height in your storage area and used these measurements as the guideline for adding in shelving. Shelving is a great way to get items off of the floor and keep categories and bins separated (think files instead of piles!). Once you have your shelves in place and categories in bins, it’s time to load it all back in your storage space. Start with the items that you access the least (seasonal items) and store them on higher shelves or in the back of the storage space Then, take the items that you use most frequently (weekly or monthly) and give those priority space. As always, we find that corralling categories using sturdy bins keep the contents organized and labeling each bin (or shelf) makes it multi-user friendly.
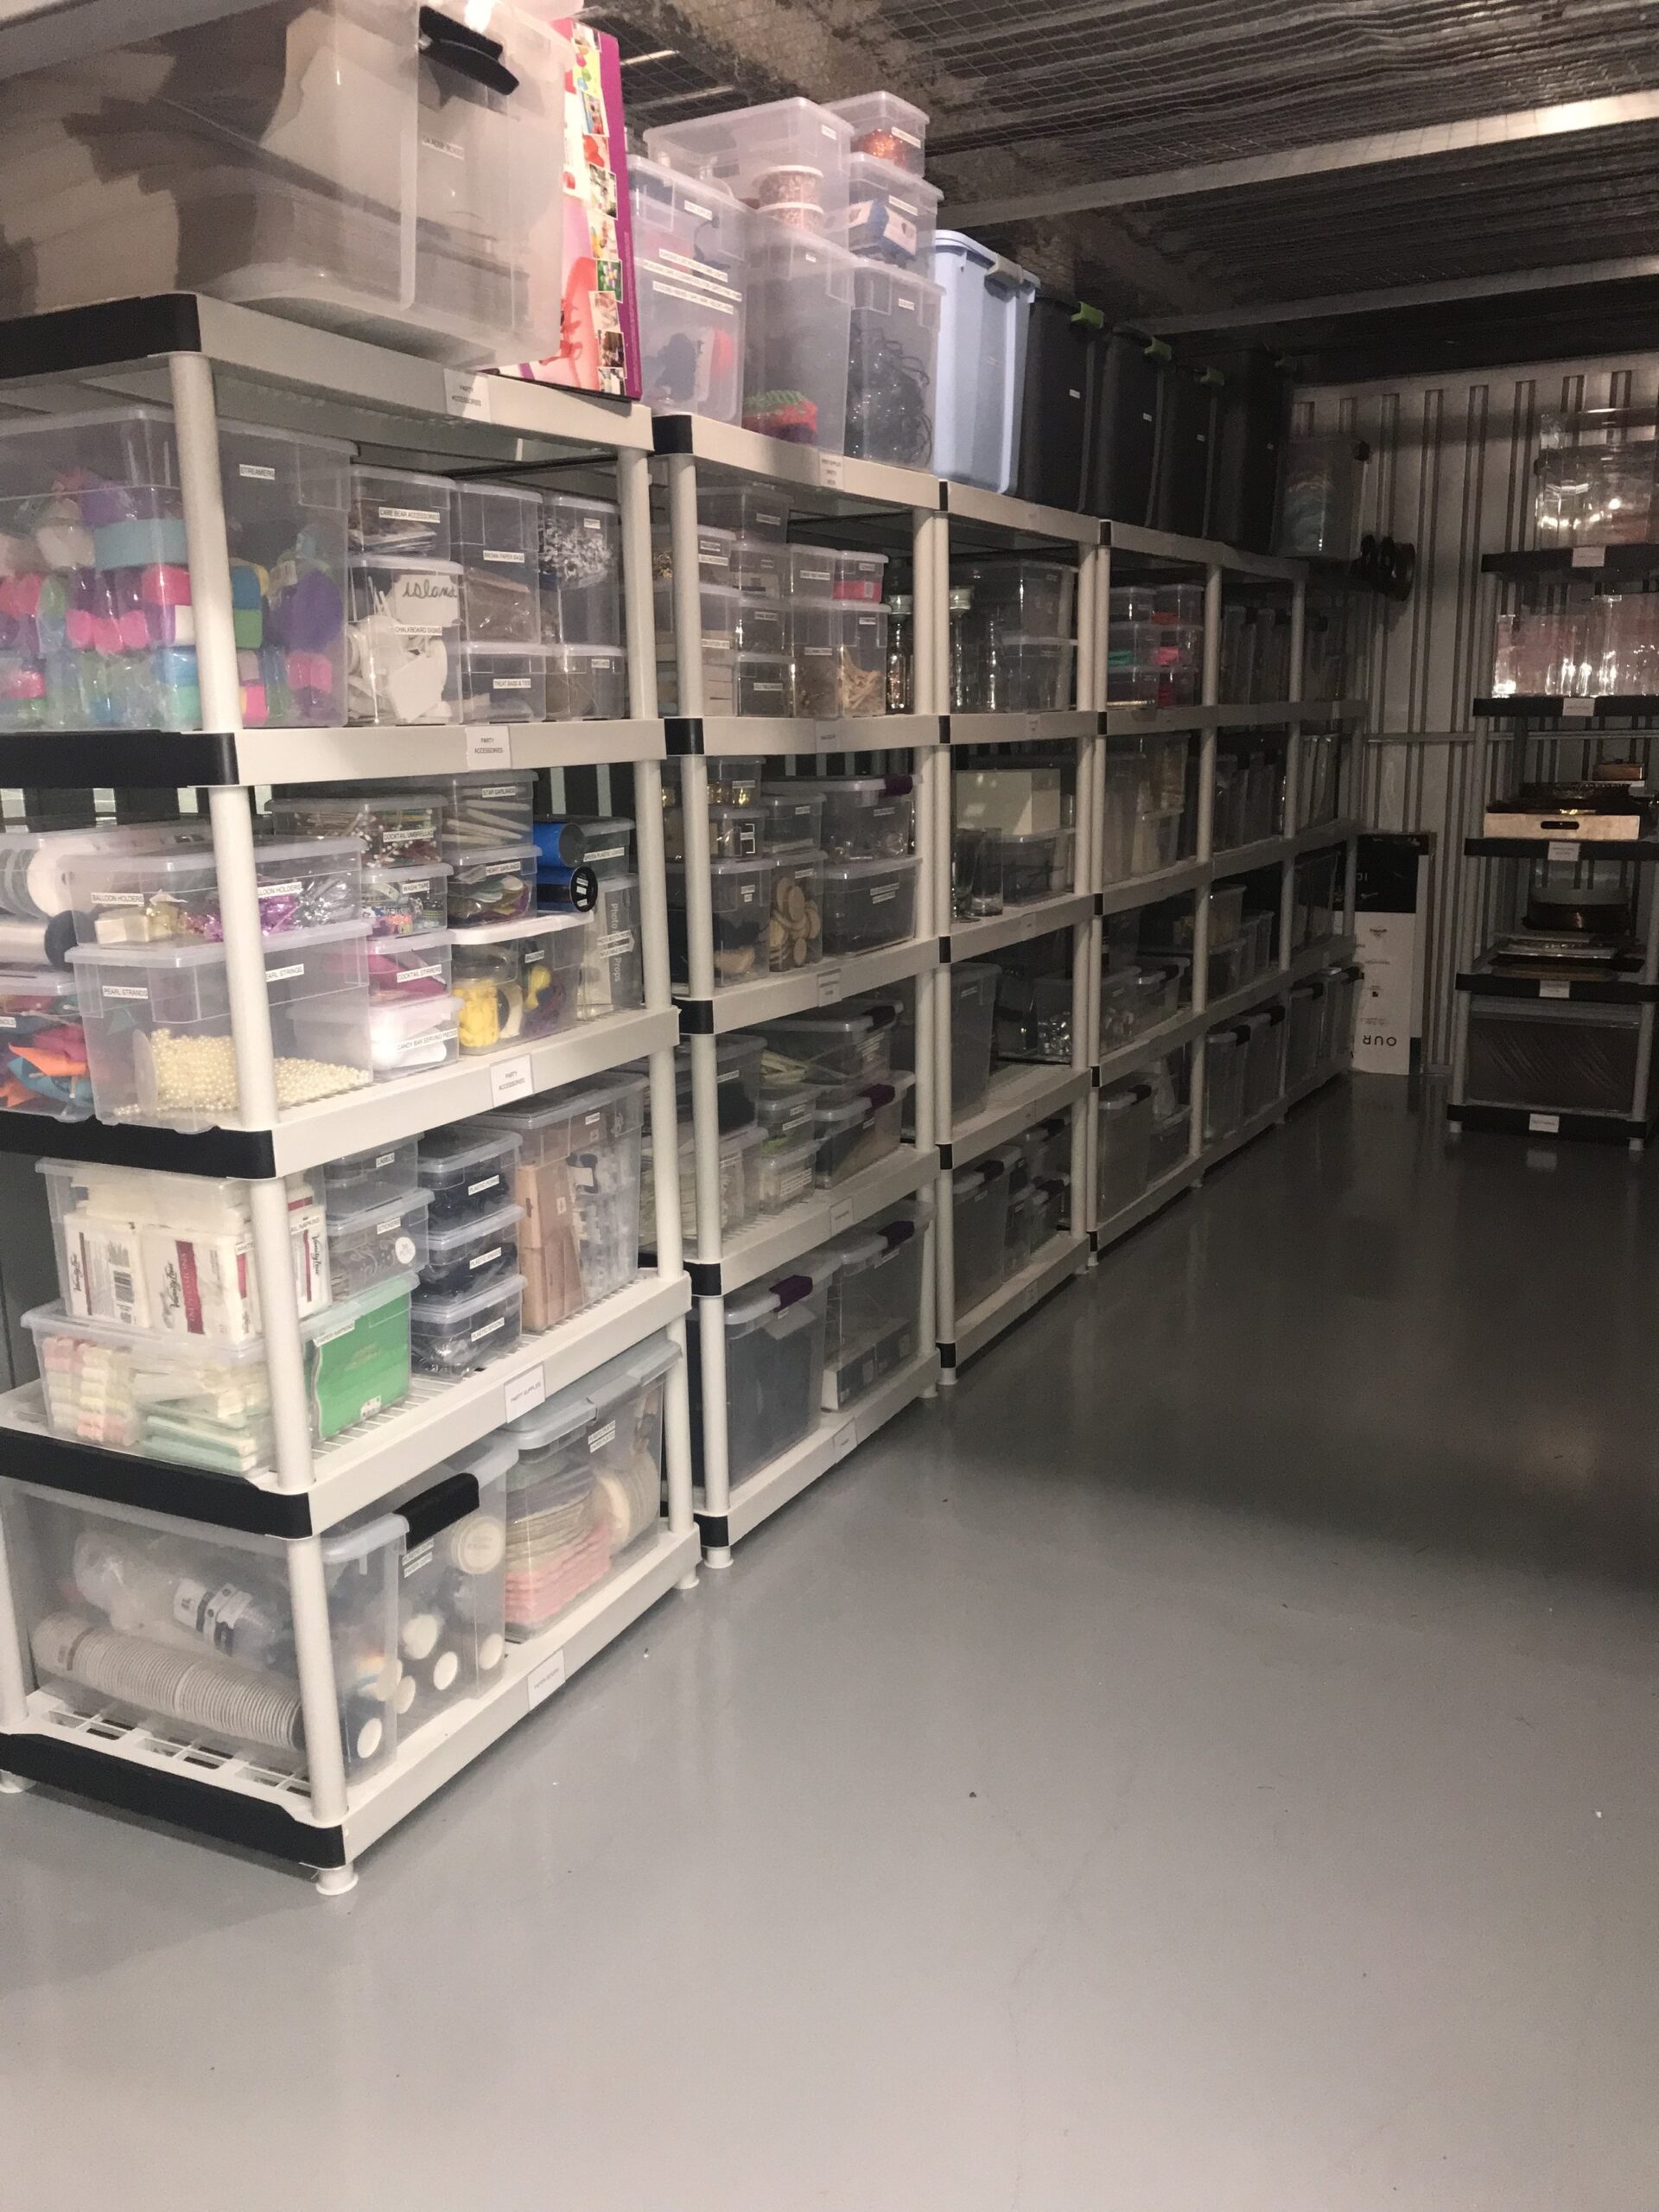
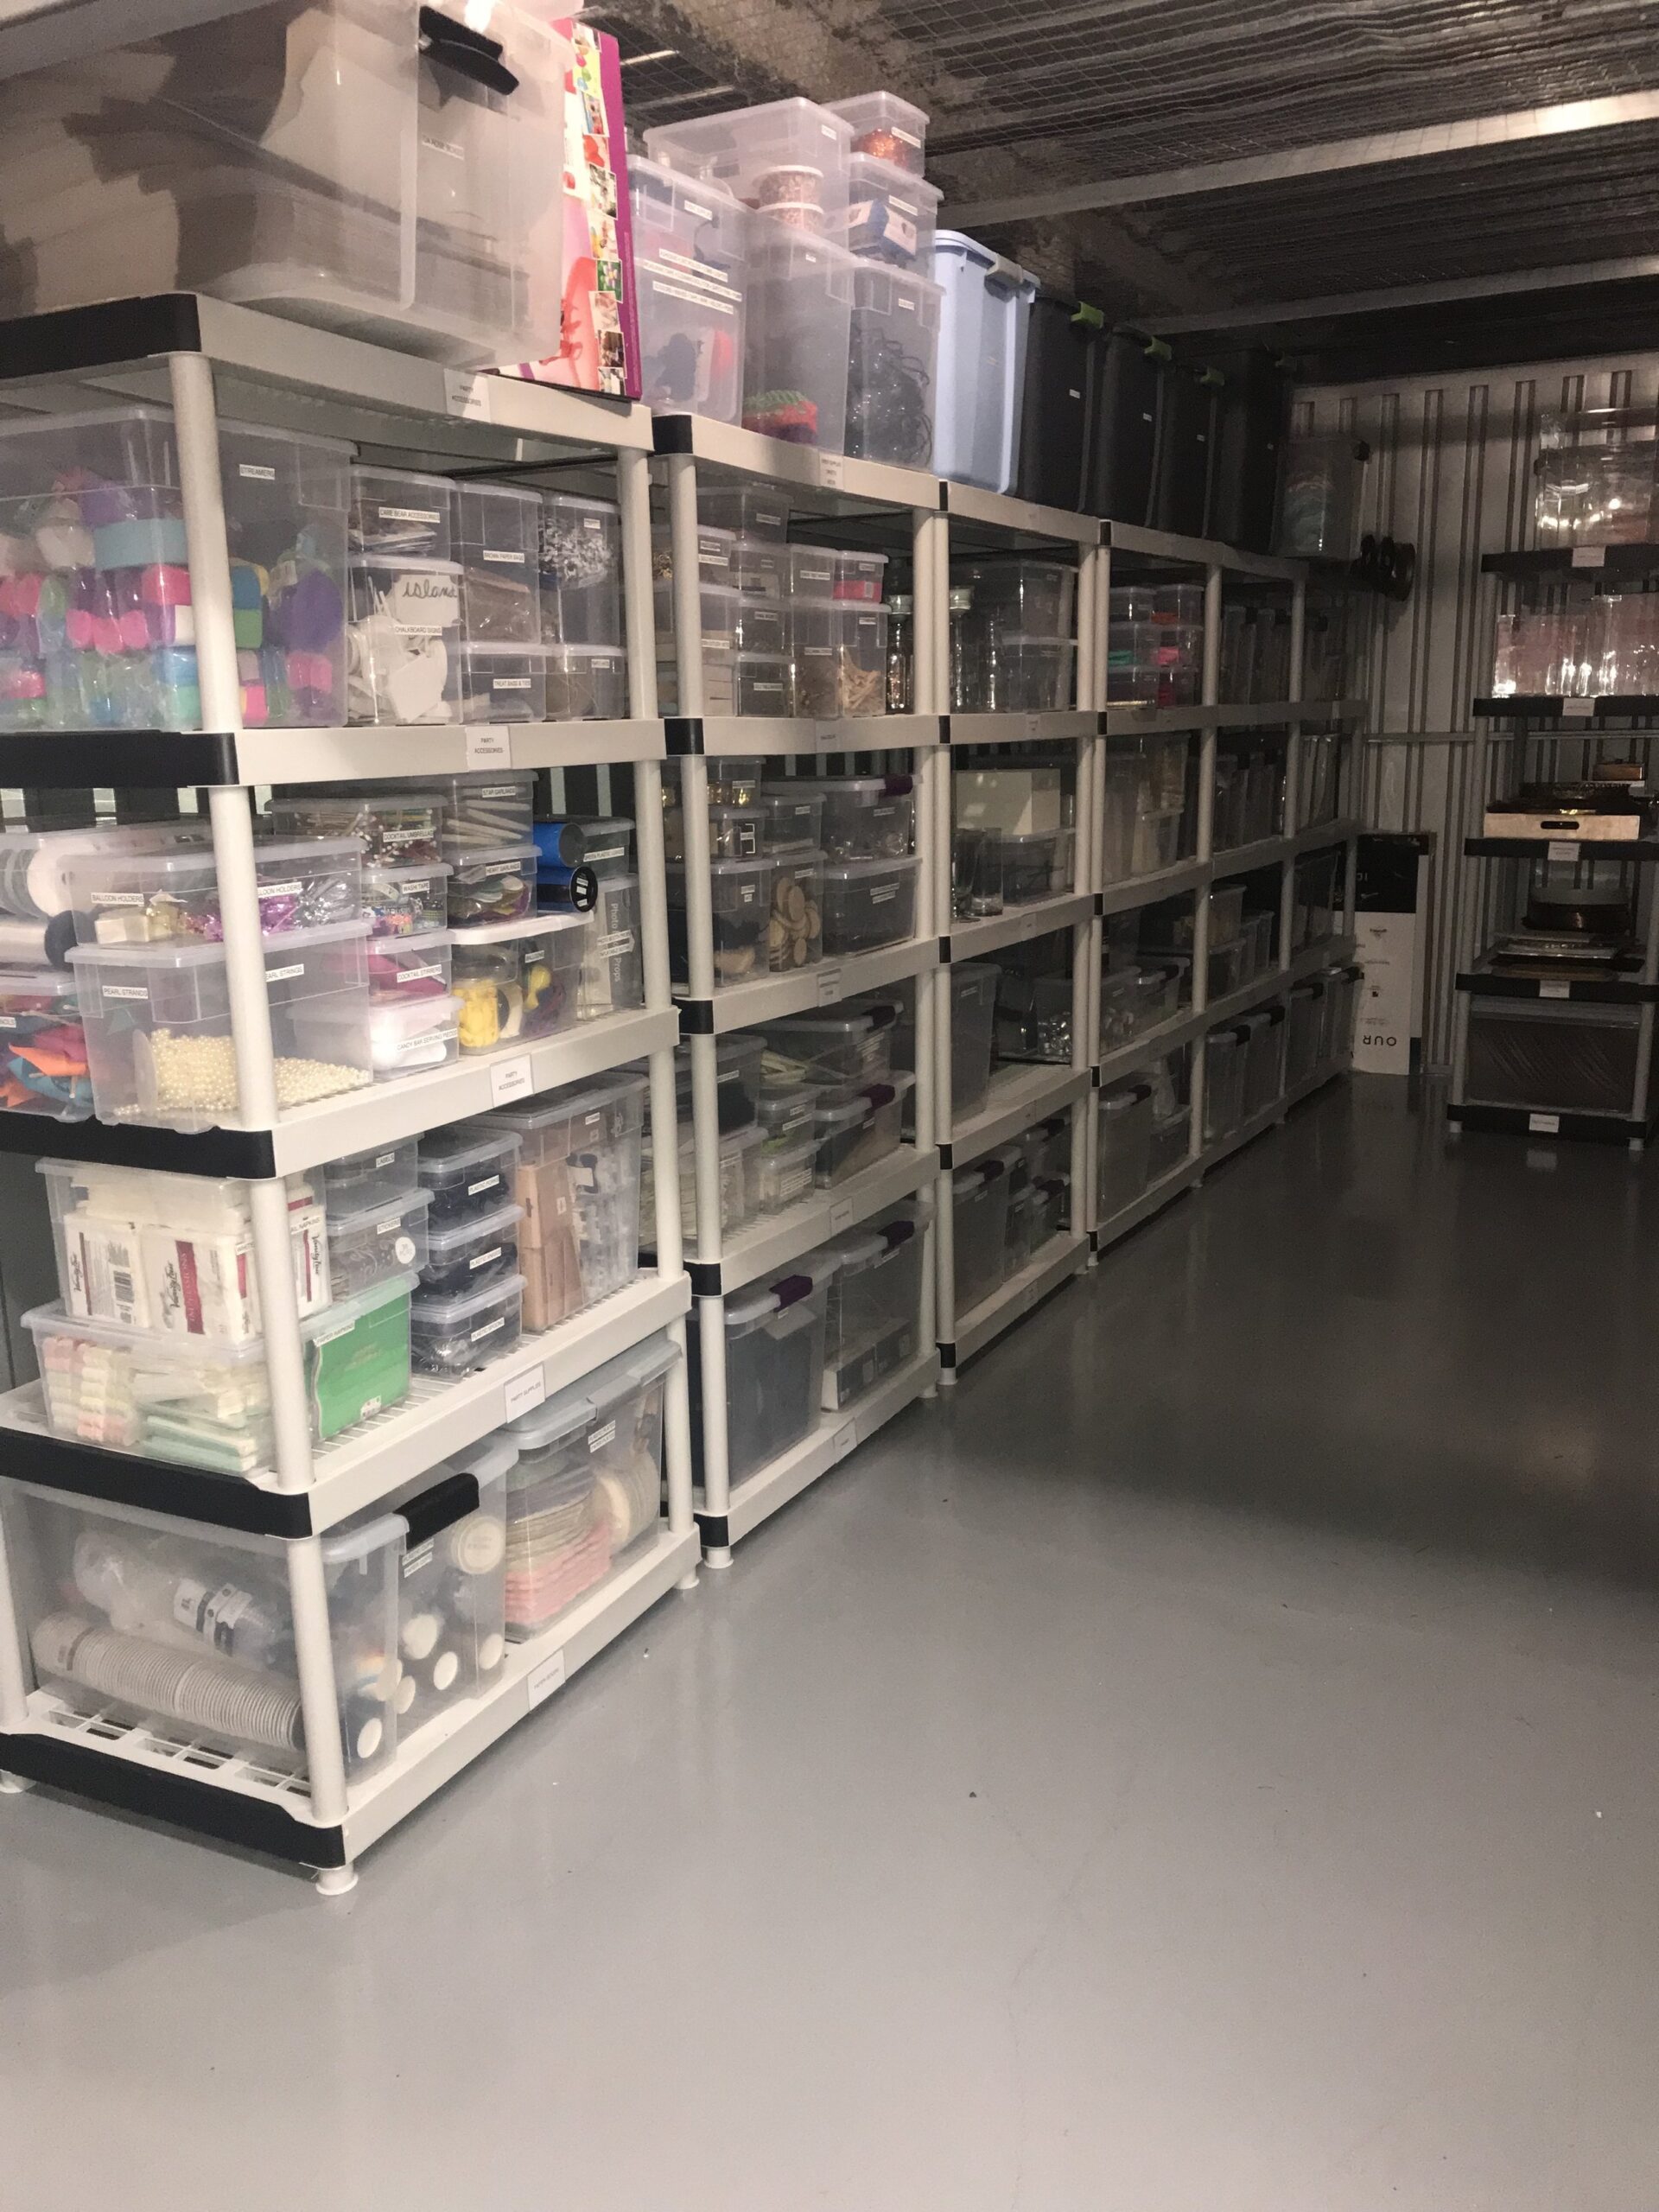




Where did you purchase these shelves?
Hi Trish! The shelves are HDX brand and can be purchased from Amazon and Home Depot.